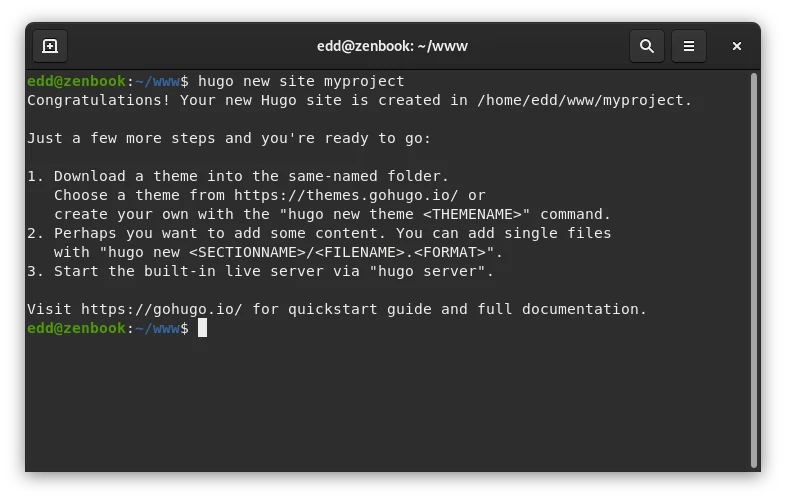
Using the terminal or command prompt (what ever you decide to call it!), navigate to the directory where you keep your projects (I keep mine in ~/www/). Then run the command below, replacing myproject with what you are going to call your project.
1
hugo new site myproject
2. Setup
You have your new project created now. But if we try and run it with this:
1
cd myproject && hugo serve
You’ll get this error:
1
WARN 2021/04/10 16:43:32 found no layout file for"HTML"for kind "home": You should create a template file which matches Hugo Layouts Lookup Rules for this combination.
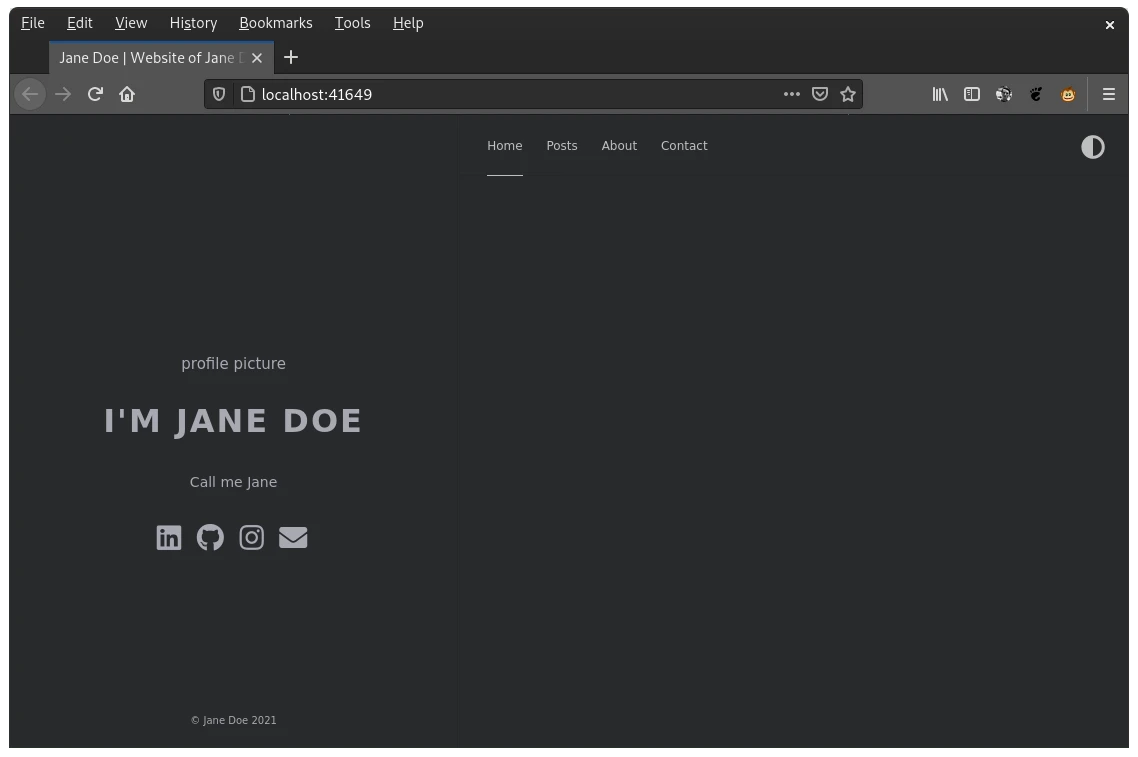
:( But it’s no problem, it’s just missing a theme.
We’ll need to get a theme setup, you can find many examples on the theme store. In our example, we’re going to use Anatole.
Edd is a PHP and Go developer who enjoys blogging about his experiences, mostly about creating and coding new things he's working on and is a big beliver in open-source and Linux.
Migrate Wordpress to Hugo
–
Wordpress is a fantastically popular blogging platform, but judging by the fact you are here, you’re looking to move to Hugo (great choice!)
The software we’ve used in the past to do this for us is called wordpress-to-hugo-exporter (does as it’s name suggests). This will essentially convert the database posts saved into markdown files which you can use in Hugo and with your theme of choice.
View on Github How to It’s important to note this works as a Wordpress plugin, so if you can’t install plugins it may not work for you.
Deploy a Hugo site to Netlify
–
Netlify is a convenient hosting platform for staticly built sites, like those built with Hugo, as it offers fast and cheap delivery of HTML files. In this tutorial, we will quickly run through how you can take your site from your local computer and push it out to the world-wide web.
How to Install the Latest Version of Hugo
–
You can view the latest releases on Github.
If you want some extras with it, explore the exended edition. The ’extended’ version includes SASS building, extra minfiying and resource processing.
Ubuntu 20.04, 24.04 or 26.04 For Debian-based linux distributions, like Ubuntu 20.04 (Focal), 24.04 (Noble) and 26.04 (Resolute), it’s often easiest to pick up the latest copy over on the Hugo Github (under Releases). One reason for this is how quickly new versions come out, the versions inside package managers can become out-dated quickly.